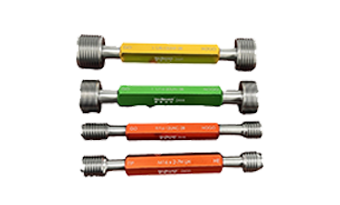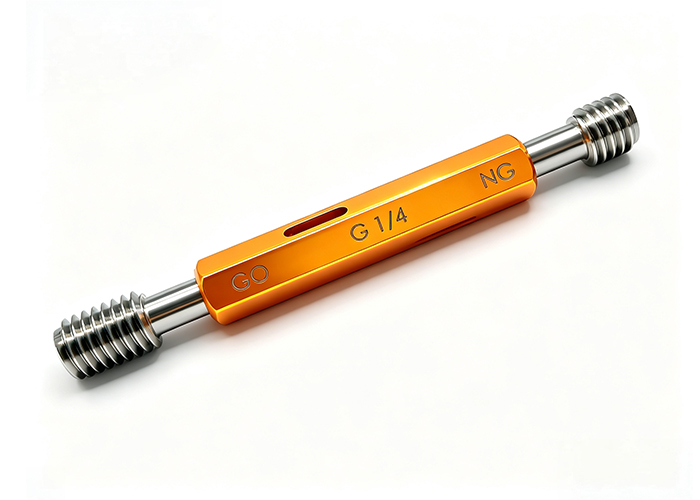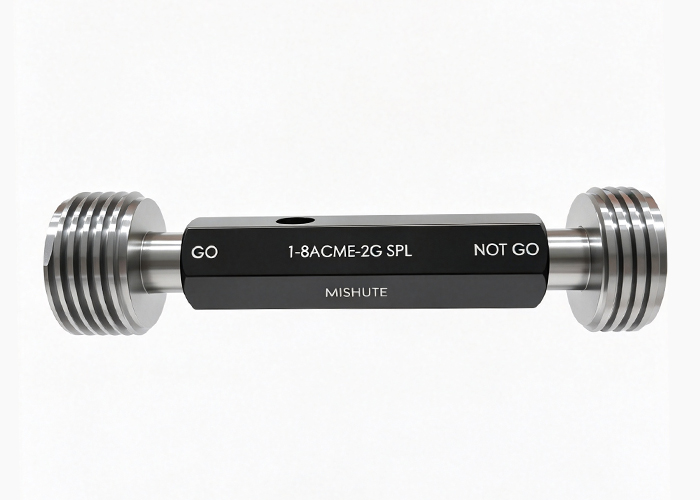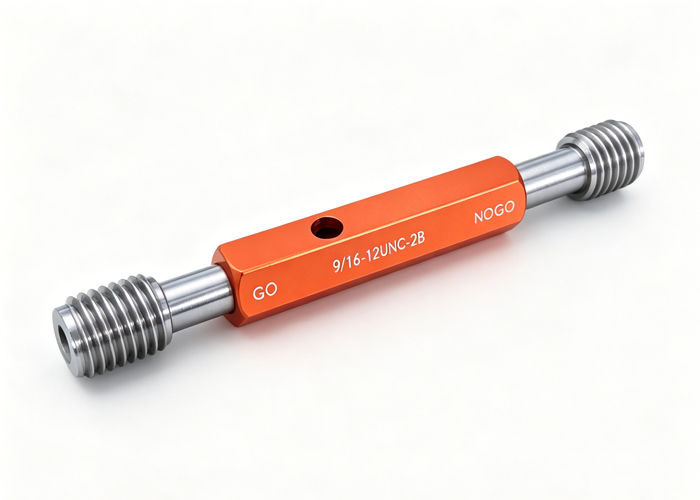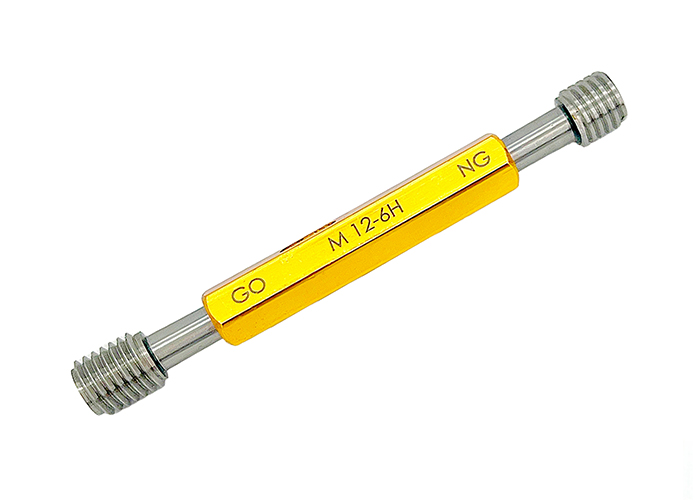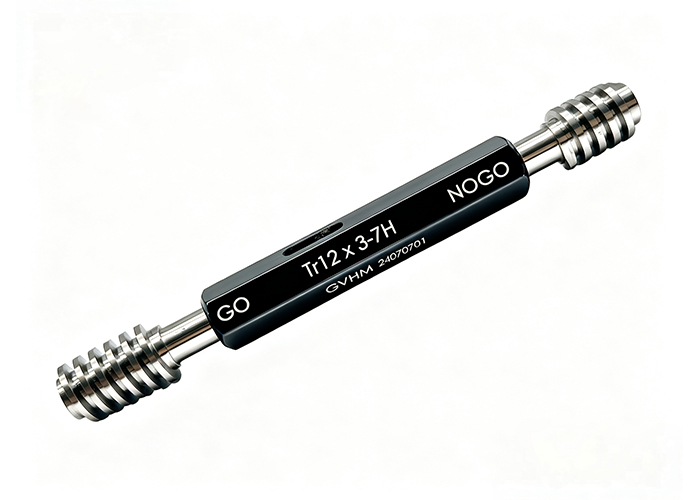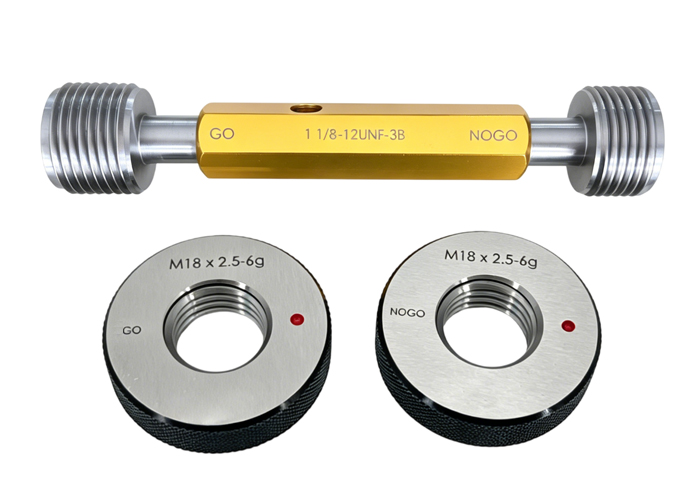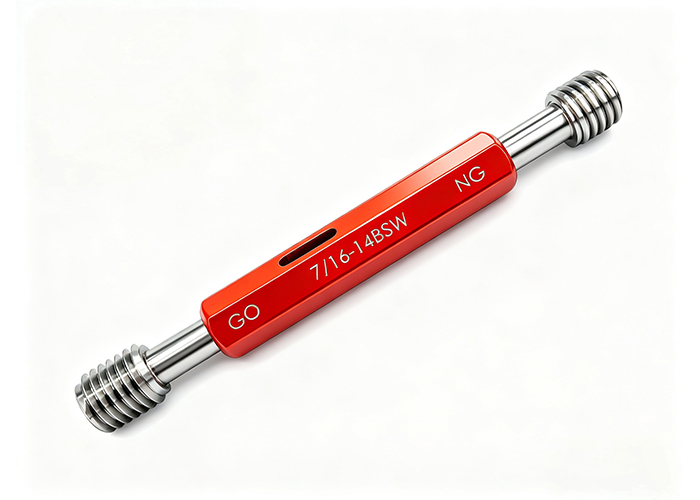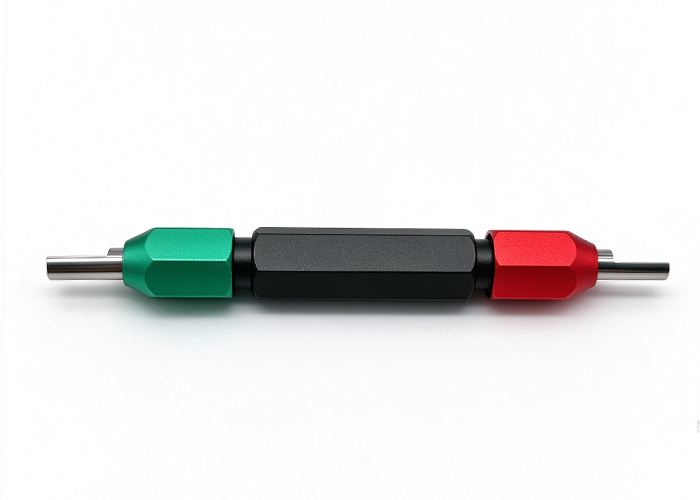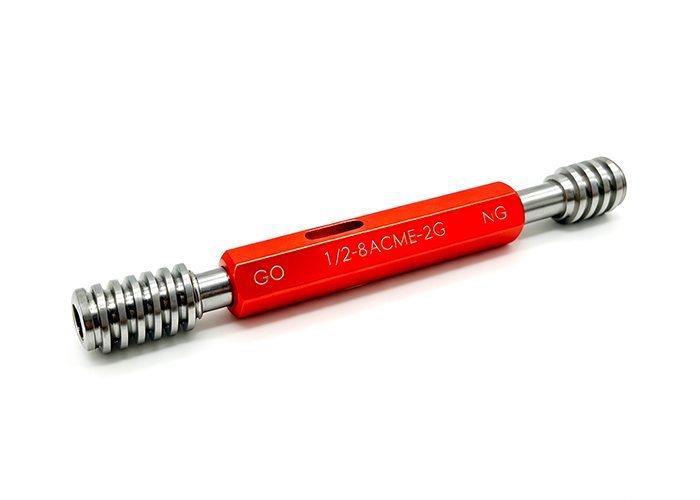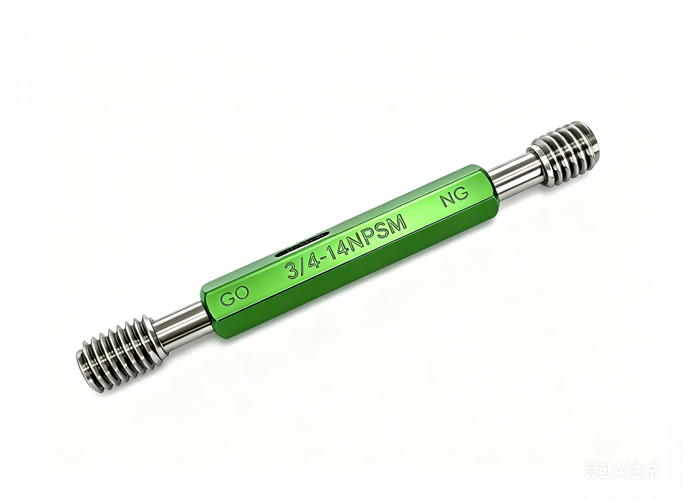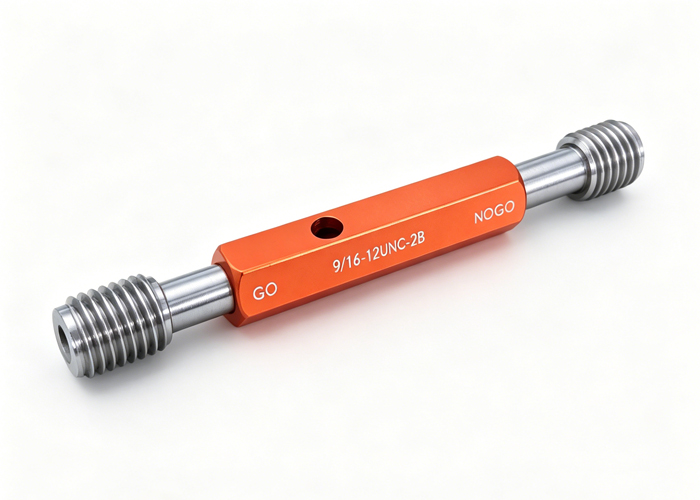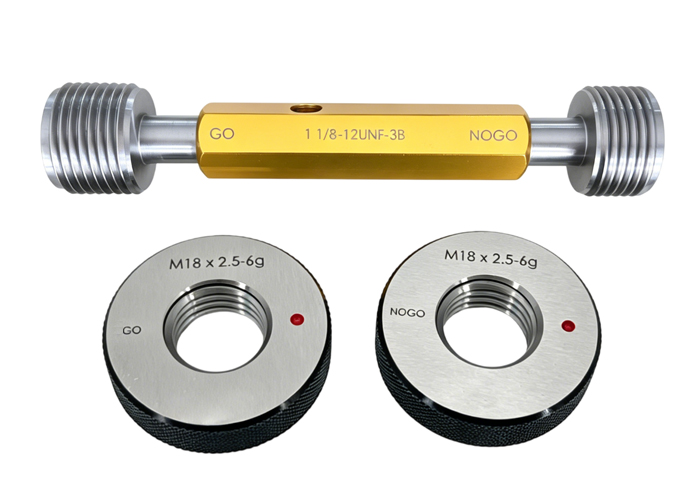
Thread gauge maintenance requires immediate cleaning after inspection, proactive barrier coating, and climate-controlled storage to maintain pitch diameter tolerances within certified limits. Neglecting gauge care introduces microscopic oxidation and flank abrasions that alter dimensional geometry, causing acceptable parts to be scrapped or non-conforming parts to pass inspection. Preserving thread plug and ring gauges depends on controlling workshop humidity, eliminating acidic handling residues, and preventing mechanical impact.
This technical guide provides a standardized operating procedure for industrial quality control teams and metrology personnel to clean, preserve, and store precision inspection tools, along with decision criteria for recalibration and replacement.
Why Precision Thread Gauge Care Dictates Part Conformance and Tool Life
A thread gauge operates as a functional limit standard. Because pitch diameter tolerances for Class X or Class W tolerances are measured in fractions of a thousandth of an inch (micrometers), minor surface degradation alters functional gauge performance.
When corrosion forms in the thread root or along the pitch flank, the pitch diameter of a Go plug gauge expands, while the effective internal pitch diameter of a Go ring gauge contracts. This dimensional shift leads to false rejections, halting production lines over non-existent machining errors. Conversely, if a No-Go gauge suffers pitch flank wear or corrosive pitting that removes material, it allows oversize internal threads or undersize external threads to pass quality control. Routine care protects the dimensional integrity of precision thread gauges and prevents costly rework, assembly failures, and customer disputes backed by documented quality control.
The behavior differs between the two gauge families for a structural reason: a thread plug gauge checks an internal thread from the inside, while a thread ring gauge wraps an external thread — so the same rust bloom pushes their functional diameters in opposite directions.
Root Causes of Thread Gauge Degradation in Industrial Environments
Tool degradation stems from chemical corrosion and mechanical damage during handling and storage.
Chemical Attack: Coolant Residue, Atmospheric Moisture, and Acidic Fingerprints
Water-miscible metalworking fluids, while essential for cutting and heat evacuation, contain water and chemical additives that promote oxidation when left to dry on tool steel. If an operator sets a thread gauge on a machine table coated in damp coolant mist, electrolytic corrosion begins within hours.
Direct skin contact poses an equally destructive hazard. Human sweat contains sodium chloride, lactic acid, and fatty acids. Bare hands transfer acidic films directly into the micro-crevices of the thread profile, initiating fingerprint etching. Over days of storage, this localized etching pits the crests and roots of the thread geometry — the same failure mode documented in how pin gauges are protected from rust in storage.
Mechanical Damage: Cross-Threading, Drop Impacts, and Abrasive Particle Entrapment
Thread gauges are heat-treated and hardened to resist frictional wear, but extreme hardness increases brittleness — a trade-off examined in detail in our tungsten carbide vs. tool steel thread gauge comparison. Mechanical degradation commonly occurs through three mechanisms:
- Forced Cross-Threading: Forcing a plug or ring gauge into an unaligned workpiece shaves or rolls the crest of the first partial thread.
- Impact Shocks: Dropping a gauge onto concrete, steel workbenches, or against other metal tools blunts the thread crests and can bend gauge blanks of smaller diameters.
- Trapped Particulate: Testing threads that contain residual grinding grit, swarf, or chips forces hard abrasive particles across the thread flanks, creating scoring grooves that ruin pitch consistency.
| Degradation Type | Primary Mechanism | Physical Manifestation | Impact on Measurement |
|---|---|---|---|
| Corrosive Etching | Coolant residue, sweat, ambient moisture | Rust blooms, pitting on flank surfaces | Increases Go plug size; decreases Go ring size (false rejects) |
| Mechanical Flank Wear | Checking uncleaned, abrasive parts | Polished or grooved thread flanks | Erodes functional limit; allows out-of-spec parts to pass |
| Crest Deformation | Drop impact, severe cross-threading | Nicked, rolled, or chipped thread crests | Prevents gauge engagement; causes premature binding |
Step-by-Step Protocol: Cleaning and Degreasing Thread Gauges Post-Inspection
Thread gauges must be cleaned before verification and immediately after completing a production batch. Never apply protective oils over contaminated surfaces, as trapped particulate and moisture continue to corrode the metal underneath. The same clean-first discipline underpins our step-by-step plug gauge maintenance routine.
Phase 1: Solvent Selection and Non-Abrasive Debris Removal
- Apply Approved Degreaser: Use quick-evaporating solvent degreasers, mineral spirits, or high-purity isopropyl alcohol (IPA). Avoid chlorinated solvents that produce acidic breakdown products, and never use water-based soaps that leave moisture residues.
- Dislodge Trapped Particulate: Submerge the threaded section or spray it thoroughly. Use a soft nylon bristle brush to work along the thread helix, dislodging packed chips, dust, and dried cutting oils.
Caution: Never use brass, bronze, or steel wire brushes, scouring pads, or rotary wire wheels on precision measuring tools, as they alter flank geometry.
Phase 2: Complete Moisture Displacement and Drying
- Dry with Lint-Free Media: Wipe the entire gauge using clean, lint-free metrology wipes or micro-denier cloths. Avoid recycled shop rags, which often contain embedded metal slivers from past laundering.
- Controlled Air Evaporation: If clean, moisture-trapped compressed air is available (filtered through oil and water separators), blow loose fluid off the gauge at low pressure (under 30 PSI). Keep nozzles at a safe distance to prevent particulate blast wear.
- Thermal Stabilization: Allow the gauge to return to ambient room temperature before proceeding to protective coating or inspection, as rapid evaporative cooling temporarily shifts physical dimensions.
Controlled Storage Practices: Shielding Thread Gauges from Moisture and Impact
Cleaned inspection equipment must be shielded from environmental humidity and physical contact during inactive periods. For the full program — inspection cadence, record keeping, and crib layout — see our complete gauge maintenance and care guide.
Selecting and Applying the Right Corrosion Inhibitor
- Short-Term In-Process Storage (Daily to Weekly): Apply a light, moisture-displacing industrial preservative oil (such as an ultra-thin rust preventive meeting water-displacement standards). Apply using a lint-free felt applicator to coat every thread root evenly.
- Long-Term Inactive Storage (Monthly to Seasonal): Coat the gauge members with heavy-duty microcrystalline wax, dipping-grade strippable ethylcellulose coatings, or high-viscosity petroleum-based rust preventatives.
- Dry Preservation (VCI): For environments where oily films create post-cleaning burdens, wrap cleaned gauges in Volatile Corrosion Inhibitor (VCI) paper and seal them in airtight polybags. VCI molecules vaporize and form an invisible passivating layer across all metal surfaces.
Storage Environment Standards: Metrology Room and Tool Crib Guidelines
- Temperature Control: Maintain storage areas at 20 °C ± 2 °C (68 °F ± 4 °F) to avoid thermal expansion and contraction cycles that generate condensation on steel surfaces.
- Relative Humidity (RH): Maintain an RH level below 45% in gauge storage cabinets. Levels above 50% accelerate rust formation on hardened tool steels — the same threshold we apply to humidity-control practices for precision gauge blocks.
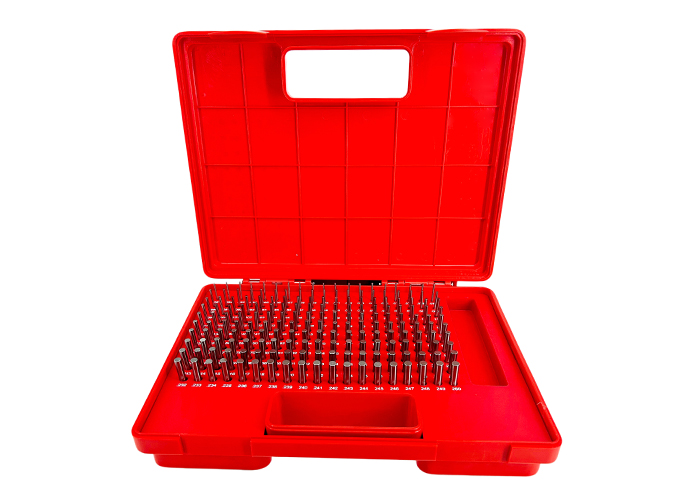
- Physical Compartmentalization: Store gauges in individual wooden cases, high-density polyethylene (HDPE) fitted trays, or dedicated silicone/rubber protective sleeves. Never throw loose plug or ring gauges into shared metal tool drawers.
Best Practices for Daily Shop-Floor Handling and Verification
Implementing clear handling rules prevents tool damage directly at the CNC machine or inspection bench.
- Clean the Part Before Gauging: Clear chips, grit, and excess cutting oil from internal and external threads using compressed air and degreaser before presenting the gauge to the component.
- The “Two-Finger” Alignment Rule: Thread plug gauges should be held lightly between the thumb and forefinger. Align the gauge axis with the hole axis and rotate gently. The Go gauge must enter freely under light manual torque. Never use wrenches, pliers, or excessive force to run a gauge through a thread — the full sequence is codified in our Go/No-Go thread gauge operating SOP.
- Wear Clean Nitrile or Cotton Gloves: Technicians should wear powder-free nitrile gloves during batch inspections to keep hand perspiration off the gauge body and threads.
- Use Dedicated Inspection Stands: When checking external components with a thread ring gauge, secure the gauge in a non-marring bench stand or place it on a clean rubber mat, rather than resting it directly on steel machine ways.
Calibration Intervals and Replacement Criteria: When to Retire a Thread Gauge
Preventive maintenance extends tool life, but continuous friction eventually wears gauges past acceptable tolerance limits. Establish a structured cycle of verification, calibration, and retirement using the evaluation matrix below:
| Inspection Stage | Observed Condition | Diagnostic Assessment | Required Technical Action |
|---|---|---|---|
| Visual & Tactile Check | No visible flaws; smooth thread engagement | Tool surface and pitch profile intact | Proceed to scheduled pitch diameter check |
| Visual & Tactile Check | Minor burr or superficial, localized nick | Isolated crest displacement | Send to accredited lab for precision re-stoning or micro-lapping |
| Visual & Tactile Check | Flank corrosion pitting, chipped pitch, or dropped damage | Permanent structural distortion | Decommission and retire tool immediately |
| Periodic Calibration | Pitch diameter within certified class tolerance | Conforming wear reserve | Clean, apply rust preventative, and return to service |
| Periodic Calibration | Pitch diameter exceeds wear limit (Go undersized / No-Go oversized) | Functional boundary failure | Decommission, quarantine, and replace gauge |
- Visual & Tactile Rejection Signs: Visible rust pitting on the pitch flanks, chipped lead threads, or flat spots across the major/minor diameters mean the gauge should be removed from service immediately. Small nicks may occasionally be stoned by an accredited metrology lab, but deep gouges require gauge replacement.
- Wear Limit Boundaries: When pitch micrometers or three-wire systems reveal that a Go plug gauge has worn below its minimum wear limit, it can no longer guarantee thread fit. Choose the verification technique deliberately — see three-wire method vs. optical comparator calibration.
- Decommissioning Process: Discarded gauges must be permanently marked or destroyed to prevent them from returning to the production line. When inspection tools reach the end of their operational life, quality managers should source reliable thread gauges with verifiable manufacturing tolerances to maintain shop-floor consistency — our custom thread gauge specification checklist for OEM orders lists the exact parameters to include in the replacement RFQ.
Key Takeaways
- Clean Before Coating: Never apply protective oils over cutting fluids or shop dirt; clean first with fast-evaporating solvents and non-metallic brushes.
- Neutralize Operator Acids: Skin sweat contains salts that pit hardened steel; use nitrile gloves or apply water-displacing rust preventatives immediately after handling.
- Never Force Engagement: Thread gauges verify dimensions under light manual torque; forced insertion or cross-threading causes permanent pitch deformation.
- Isolate in Storage: Keep relative humidity under 45%, maintain ambient stability around 20 °C, and isolate individual gauges in custom trays or VCI-lined containers.
- Retire When Worn: Maintenance preserves surfaces, but calibration determines life; decommission gauges immediately once wear limits are exceeded.
Frequently Asked Questions (FAQ)
How often should thread gauges be calibrated under normal production cycles?
Calibration frequency depends on usage volume and workpiece abrasiveness. For high-volume production checking abrasive materials (such as cast iron or fiberglass-filled plastics), inspect gauges monthly or bi-weekly. For moderate clean-room or alloy steel inspection, quarterly or semi-annual intervals are standard. Always recalibrate immediately if a gauge is dropped or forced.
Can damaged or rusted thread pitches be repaired?
Superficial discoloration can sometimes be polished out with non-abrasive cleaning compounds by an accredited metrology technician. However, if rust has pitted the pitch flanks or mechanical impact has deformed the thread form, polishing will remove base metal and take the tool out of tolerance. Pitted and deformed gauges must be retired and replaced.
What should an inspector do immediately if a thread gauge is dropped?
Quarantine the gauge right away. Mark it as out-of-service and inspect the lead threads and pitch diameter under an optical comparator or toolmaker’s microscope. Even if no physical crack is visible, the impact may have rolled the lead pitch or thrown the blank out of alignment. Do not return it to the line without recalibration sign-off.
Is standard WD-40 recommended for long-term thread gauge storage?
No. Standard WD-40 is primarily a solvent and water displacer, not a long-term protective preservative. Over time, the carrier solvent evaporates, leaving a thin, gummy film that attracts ambient moisture and dust. Use dedicated ISO-grade rust preventive oils, microcrystalline waxes, or VCI packaging for inactive storage periods.